How to create a post-purchase upsell offer?

Ridhu Pharan
Last Update 9 months ago
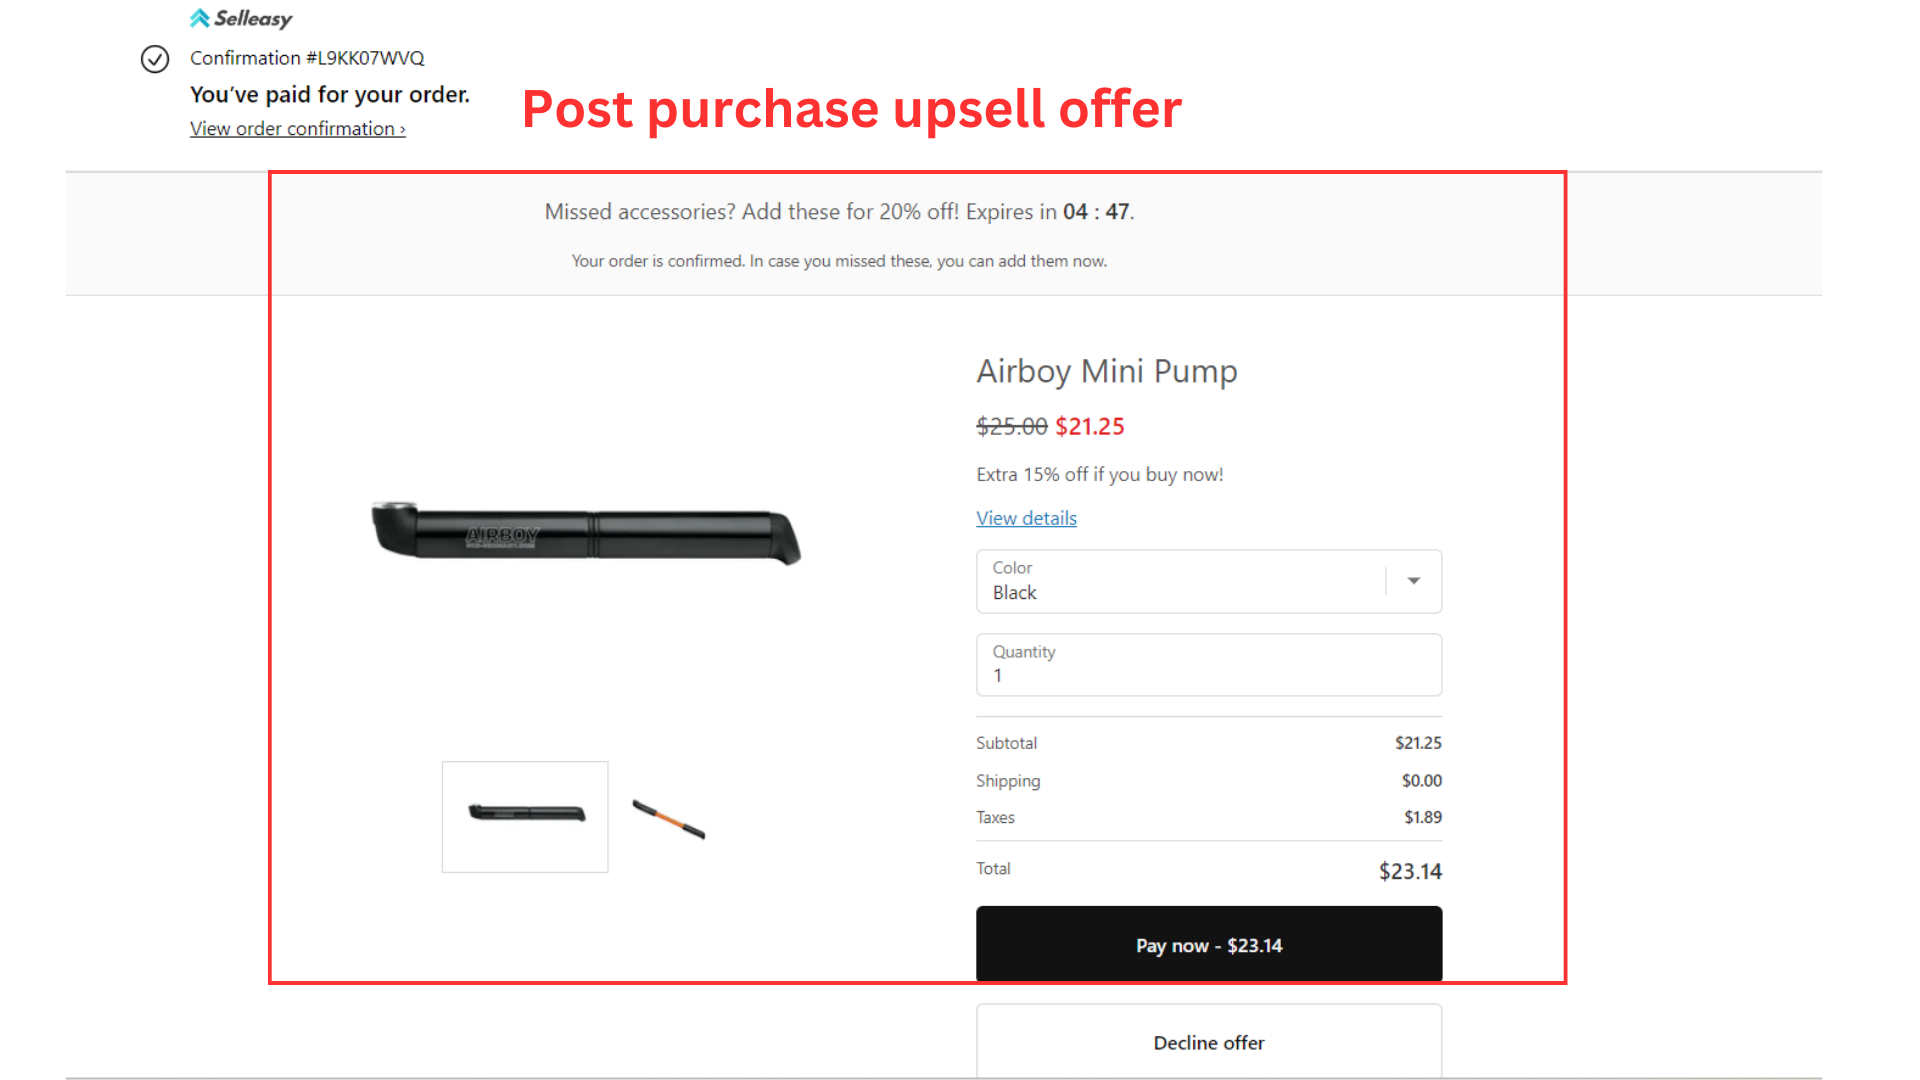
Post-purchase upsell offers a great chance to sell more products as the customers checkout. The best part is customers need not enter their payment details again to accept post-purchase upsell offers.
Limitations
Before creating post-purchase upsell offers, ensure that your store matches the following conditions:
- Your store must be using Shopify Payment Gateway. Since this widget is integrated with Shopify Checkout it works only with Credit Card (on Shopify Payment Gateway) or PayPal Express. For PayPal Express "Automatic Payments" should be approved for your account.
- The checkout currency should be the same as the store's default currency
1. Click ‘Add offer’ from the Selleasy app's offers page.

2. Choose 'Post Purchase' and select ‘Post purchase upsell’ as the upsell type and click 'Create'.

3. When you create the “Post purchase upsell” offer for the first time, you need to enable an additional setting to make it work on your Shopify store. To do so, click the link in the notification shown in the “Post purchase upsell” page.

4. Or else, click on Shopify Settings >> Checkout. Scroll down and look for the ‘Post purchase’ section and select ‘Selleasy’ there. Then, click on ‘Save’

5. The Post purchase upsell offer allows you to choose ‘Trigger’ products and ‘Offer’ products.
Trigger product is the primary product the customer intends to buy.
Offer products are the upsells you wish to promote along with the trigger product.
Here's how to choose a trigger product:
Specific product - View and select the products
Tags - Select existing product Tags (eg. Women's clothing, Men's clothing, etc)
All products - Select all your products at once
6. Choosing the offer products
Manual - View and select the offer products based on your targets
Automatic - This allows Shopify to recommend products automatically from the store
Make sure to give an ‘Offer name’ (mandatory field) which is only for your internal reference and will not appear on the product page.
Note: Before setting up an offer; make sure the offer products are in stock, the offer must have an image, and be in active status on the online store.

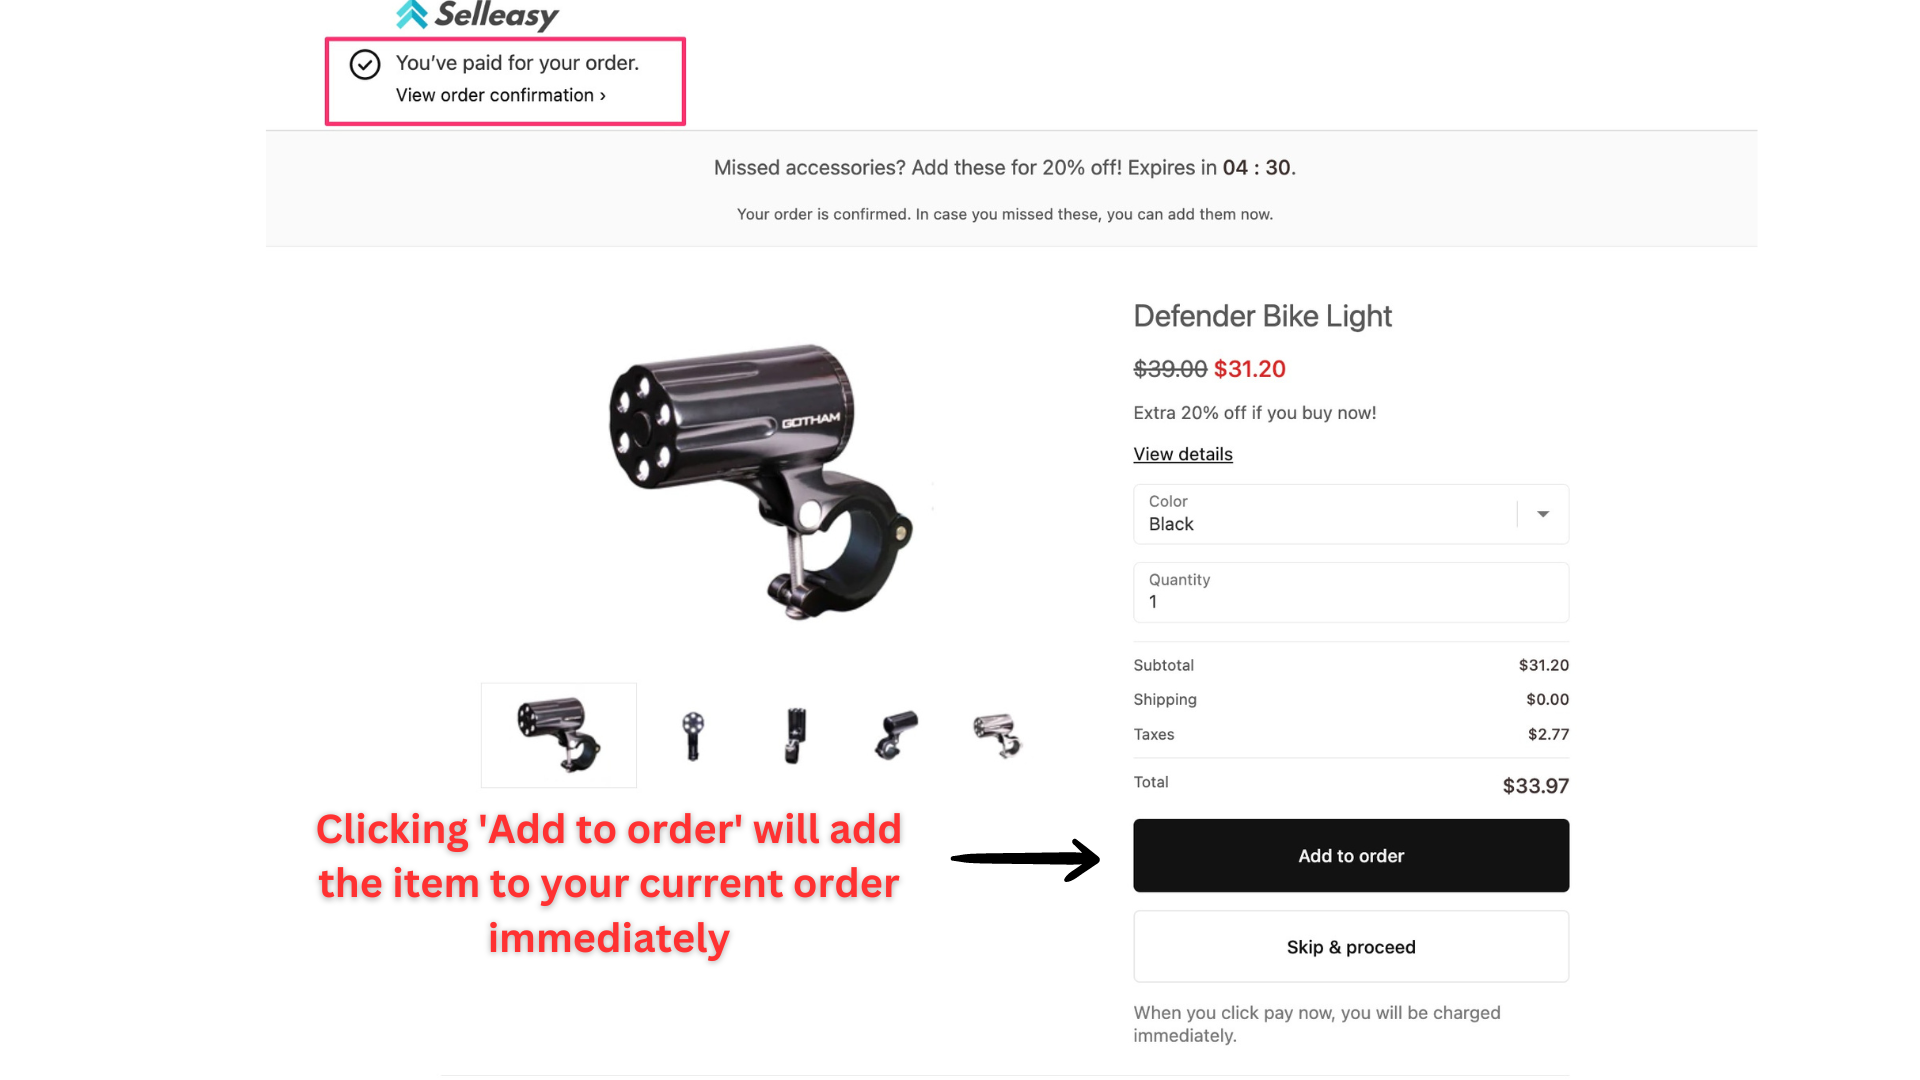
7. You can “Enable Discount” (optional) to offer discounts to your customers for choosing the ‘Post purchase upsell’.

Once you save the offer, here’s how the post purchase upsell will appear when the customers finish their payment.
8. Once you’ve completed the setup, click ‘Save offer’ and when you create your first offer, you will be prompted with the mandatory checks to get your offer work properly.
Click on “View offer in your online store” to test the offer in your store.

9. Once after testing the offer, you will be prompted with another message for further steps.
“Yes, works fine” - Choose this if the offer works fine.
“Could not see the widget” - Choose this if you can’t see the offer widget. There may be a problem with the payment gateway. You can click on “Get free setup assistance” to contact our support team to resolve the issue.

10. You can also do the troubleshooting after creating the offer. To do so, select an offer and click on “Test in store”.

11. Additionally, you can do the styling and customization of the widget on the “Customize”page. Click ‘Customize’ to explore the options.

12. Click on ‘Edit settings‘ under “Common settings and customization” to customize the widget in general. You can make common styling changes to the widget of all your offers like button color, text color, border radius, etc.
Use the custom CSS section for customization if you are familiar with CSS. You can reach us for the extended support in customization.

13. Shopify requires apps to keep the post purchase offer text as non-editable.
If you need to customize the text and translation, please reach out to our support and we’ll review to add it as an option.
You can add a timer to create a sense of urgency. To do so, click on the “Edit Widget” button corresponding to “Post purchase upsell” under “Widgets”.
Scroll down and add the countdown timer.

For more support, click the Chat icon on the bottom right of the page to get 24/7 assistance.